Creating a Plone Site
Creating a Plone Site
When Plone is installed for the first time, a Plone site will be or created within the root level of the Zope Management Interface (ZMI). Afterwards, Enfold Proxy (EP) is used to map the Plone applications to the domain or host you are using. (This process is called proxying and you accomplish that by adding a proxy definition ).
This topic provides background about how Plone sites are created and how to create additional Plone sites to proxy to different domains.
The Zope Management Interface (ZMI) is the web-based administrative interface for the Zope object database upon which Plone rests. Site administrators can perform many administrative functions using the Plone control panel, but occasionally situations arise where you need to access the ZMI itself. For example, you may need to add a new Plone site or change a security permission or run a database script.
Having problems? Check the troubleshooting checklist or the common tasks in Enfold Proxy or the FAQ.
ZMI Application Root vs. ZMI
There are two contexts for accessing ZMI, and they vary both in security and scope.
First, there is application root. When you access the application root of the ZMI, you are permitted to add/modify/delete objects of one or more Plone sites. Typically, after initial installation, you can view application root by going to http://localhost:8080/manage. To find the management port for your Zope Client, open the zope.conf file under (Plone install directory)/.../Client/etc/zope.conf . The port number will be listed on a line such as this:
define ZOPE_MANAGEZODB_PORT 8080
The other context for viewing the ZMI is specific to a single Plone site. You can access it from Plone's control panel. From this context, you are able to change the settings only for one Plone site (and not the others).
How do you know if the ZMI web page is application root or a ZMI specific to a Plone site? These signs will indicate you are looking at application root:
when you type in the host+port number (i.e., http://localhost:8080), you see the generic Zope page (usually)
when you append the word "manage" to the URL (i.e., http://localhost:8080:manage), you will see
- a two panel interface, with Control Panel appearing at or near the top. (This will not appear in the context of an individual Plone site).
- you will not see various objects named "portal_" (this only appears in the context of the Plone site's ZMI).
Adding another Plone Site using the ZMI
Requirement: You must be in the application root of your ZMI and not within the context of another Plone site.
For this example, application root will be at http://localhost:8080.
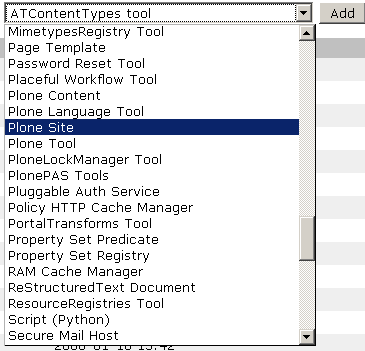
One common reason for accessing the Application root of your ZMI is to add a Plone site (or even to delete one). When Plone is initially installed, you will see an object called Plone at the application root (i.e., http://localhost:8080/Plone ). To create another Plone site, you need to add a new Plone Site object:
- Use the dropdown menu to Add a New Plone site. Give it a unique id (not "Plone" for example). For this example, give it the id "Plone2".
- Check the application root of your ZMI to make sure the object called "Plone2" appears.

- Verify that you can access the new Plone site by going to http://localhost:8080/Plone2 . You should see a generic Plone site here.
- The next step is to use Enfold Proxy to map the "complicated URL" (such as http://localhost:8080/Plone2) to a simpler one (such as http://www.funsite1.com). To do that, you need to add a proxy definition (See adding a proxy definition ).
Guidelines for Setting Up ZMI Access
Before setting up a host for ZMI access, you should become familiar with general security concerns regarding ZMI access.